How to Split an Image into 2, 3, 4, 9 or More Parts
Splitting an image into parts is a common task. It is useful for graphic design, web development, and creative projects. You can divide an image for photo collages, social media grids, or printing. Online tools make this process quick and easy. This guide explains how to split images into 2, 3, 4, 9 or more parts online.
Why Split an Image into Parts?
Splitting images has many uses:
- Social Media Grids: Instagram users create grids to make cohesive visual effects.
- Collages and Layouts: Designers split images to fit templates or layouts.
- Printing and Framing: Dividing an image makes alignment easier for custom prints.
- Web Design: Smaller sections of images help improve web layouts and loading times.
Popular Online Tools for Splitting Images
Many online tools can split images. Here are some common ones:
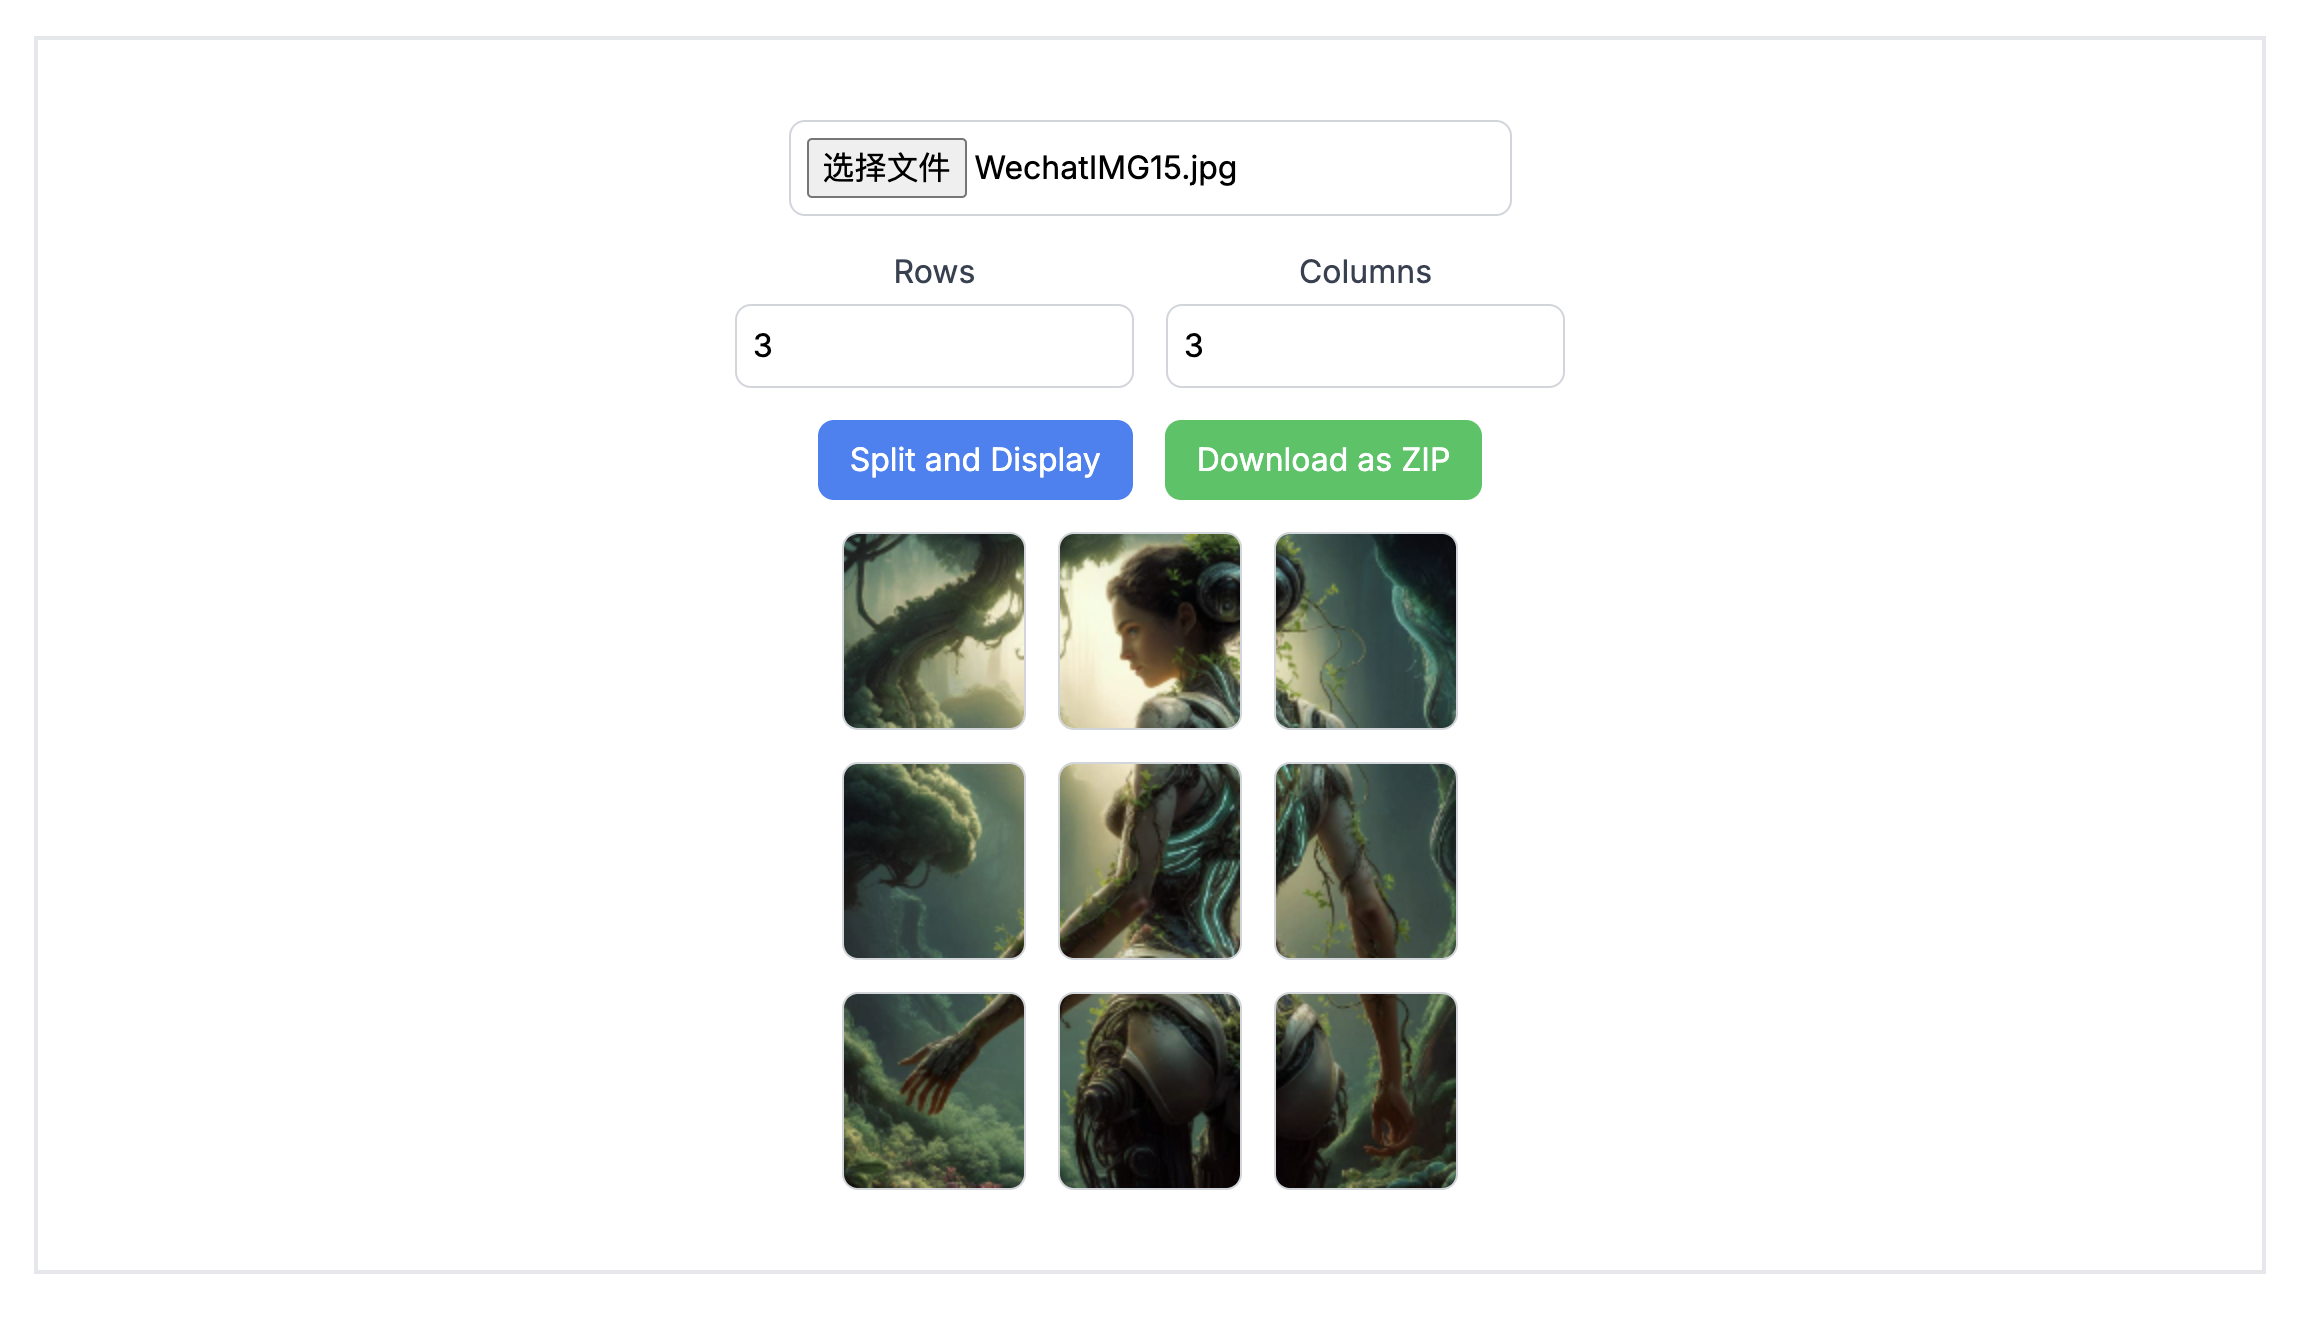
0. ImageSplitter
ImageSplitter can split image online to 2,3,4,9 or more parts.
- Steps to Use ImageSplitter:
- Upload your image.
- Enter the number of rows and columns.
- Download the split images.
1. PineTools
PineTools offers simple image editing options like splitting images.
- Steps to Use PineTools:
- Upload your image.
- Choose the number of parts (horizontal or vertical splits).
- Click "Split" and download the images.
2. PhotoSplit
PhotoSplit works well for Instagram users.
- Steps to Use PhotoSplit:
- Upload your image.
- Pick the grid type (e.g., 2x2 or 3x3).
- Download the split images.
3. Canva
Canva is a design tool with grid and split-image features.
- Steps to Use Canva:
- Open Canva and create a new design.
- Upload your image and use the grid feature to split it.
- Save each section.
Step-by-Step Guide to Splitting Images
Splitting into 2 Parts
- When to Use: Divide an image into two equal halves.
- How to Do It:
- Use ImageSplitter.
- Upload your image.
- Pick "Split into 2 parts" (horizontal or vertical).
- Download the two halves.

Splitting into 3 Parts
- When to Use: Good for tri-panel displays or banners.
- How to Do It:
- Use ImageSplitter.
- Choose 3 columns (or rows).
- Download the images.

Splitting into 4 Parts
- When to Use: Works well for Instagram grids or collages.
- How to Do It:
- Use ImageSplitter.
- Pick a 2x2 grid layout.
- Save each section.

Splitting into 9 Parts
- When to Use: Often used for Instagram grids.
- How to Do It:
- Use ImageSplitter.
- Pick a 3x3 grid.
- Download all nine images.
Splitting into More Parts
- When to Use: Needed for mosaics or large grids.
- How to Do It:
- Use ImageSplitter.
- Set the rows and columns.
- Download the parts.
Tips for Effective Image Splitting
- Use High-Resolution Images: This keeps quality good after splitting.
- Maintain Aspect Ratio: Balanced ratios make better sections.
- Preview Before Downloading: Check the result to avoid mistakes.
- Choose the Right File Format: Save images as PNG or JPEG.
- Backup the Original: Keep the original file safe.
Advanced Techniques
Custom Dimensions
Some tools let you set custom dimensions. This is good for uneven splits or specific aspect ratios.
Adding Margins or Gaps
Canva lets you add gaps between sections. This looks nice for designs needing spacing.
Combining with Other Effects
After splitting, you can add text, filters, or graphics. Tools like Canva and Photoshop make this easy.